Local Shop Host
How It Works
From subscribing to running your site day-to-day — every step, with real screenshots of the site.
Signing up in 5 steps
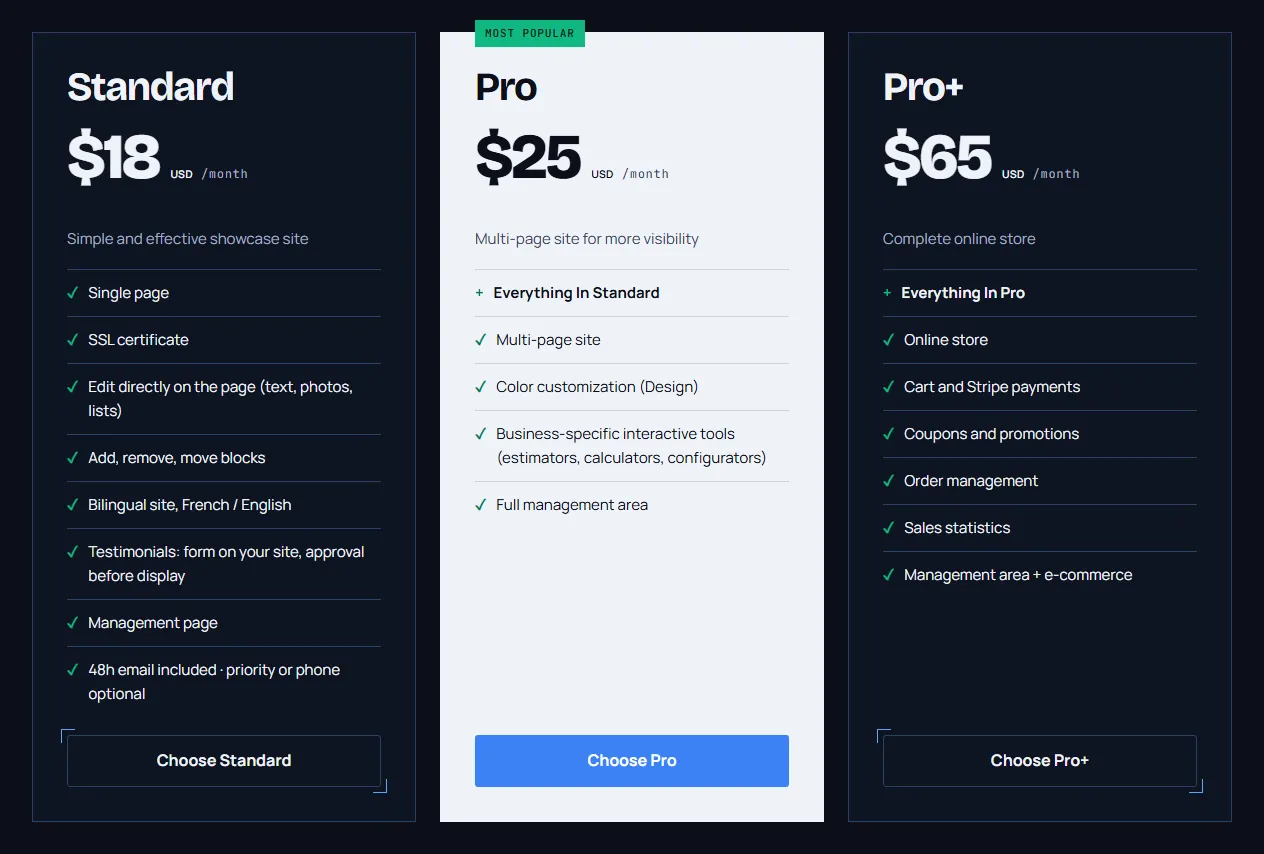
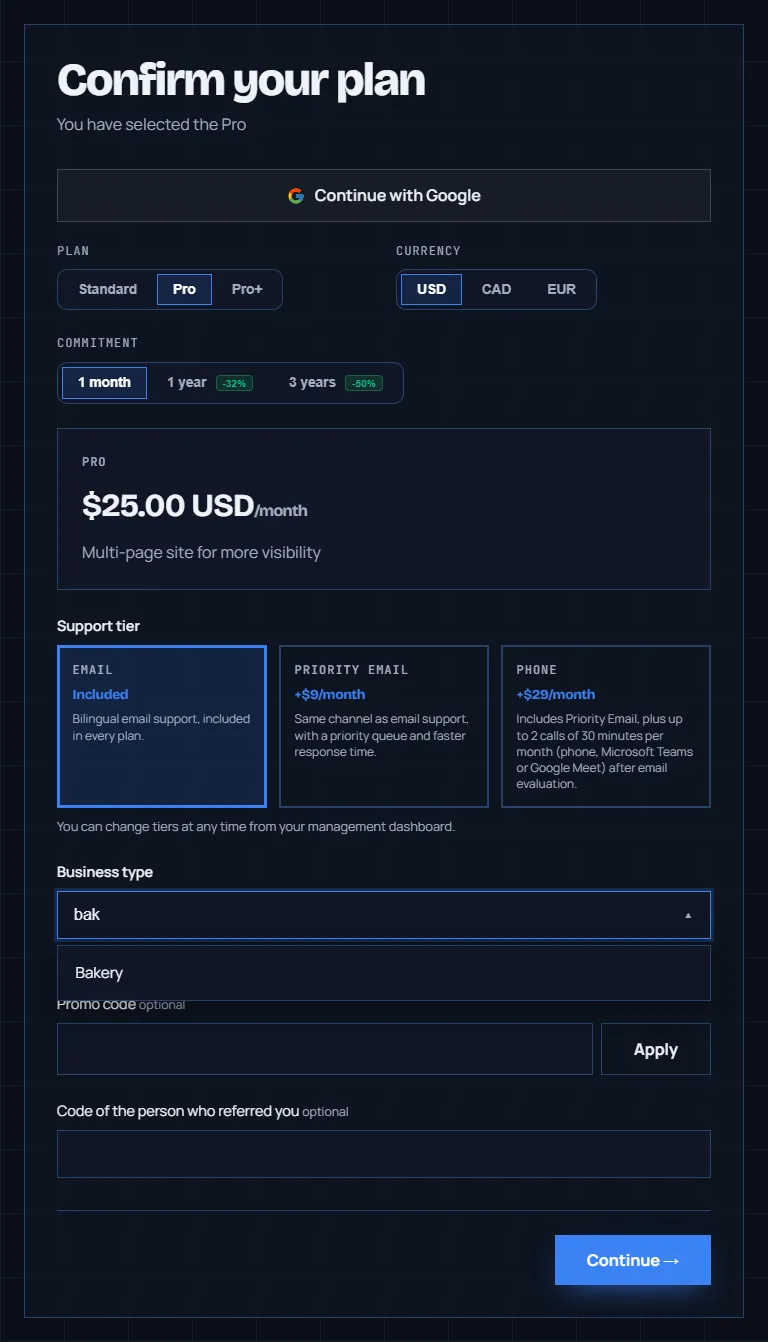
You choose a plan (Standard, Pro or Pro+), its length (1 month, 1 year or 3 years: the longer, the cheaper) and a support tier. Signing up takes 5 steps, and your site is live as soon as you finish the last one.
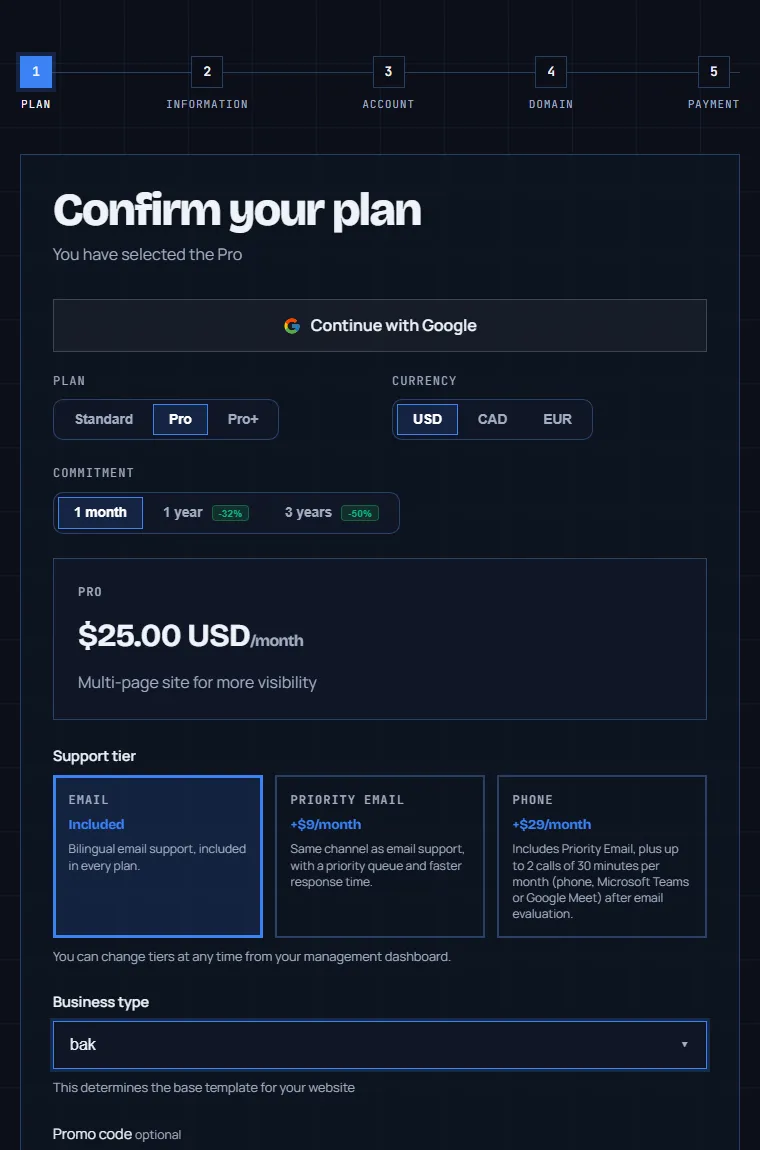
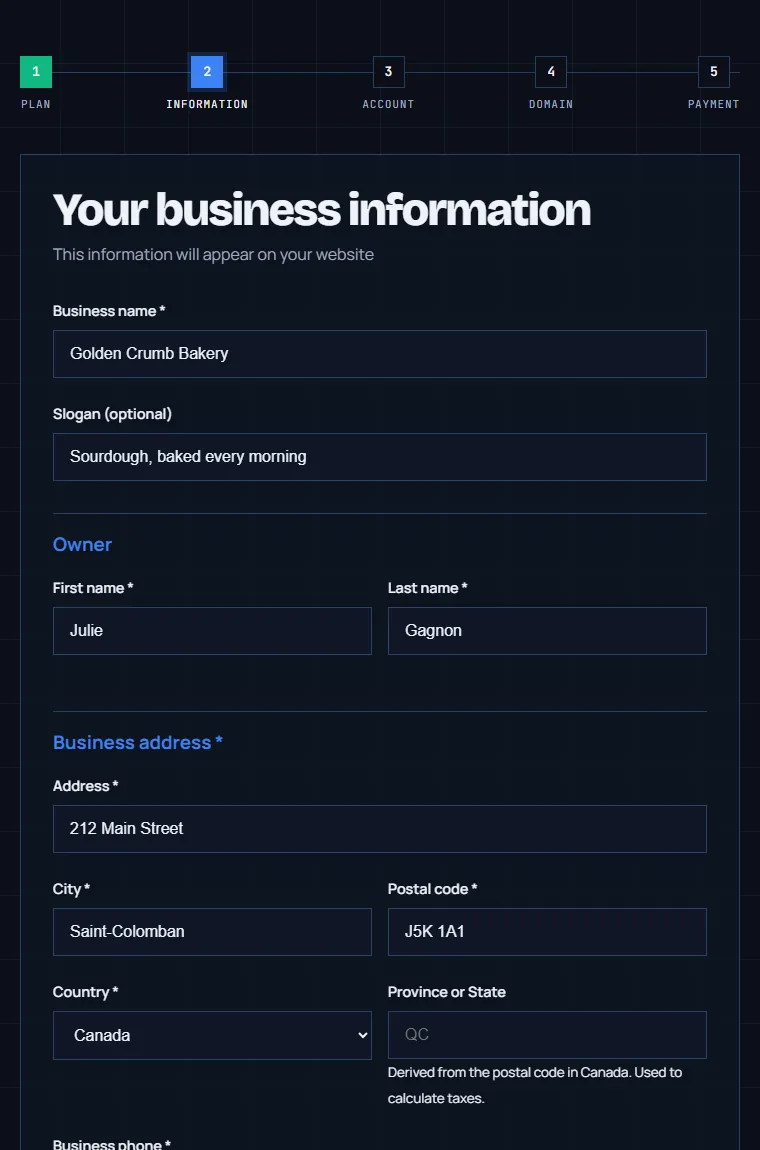
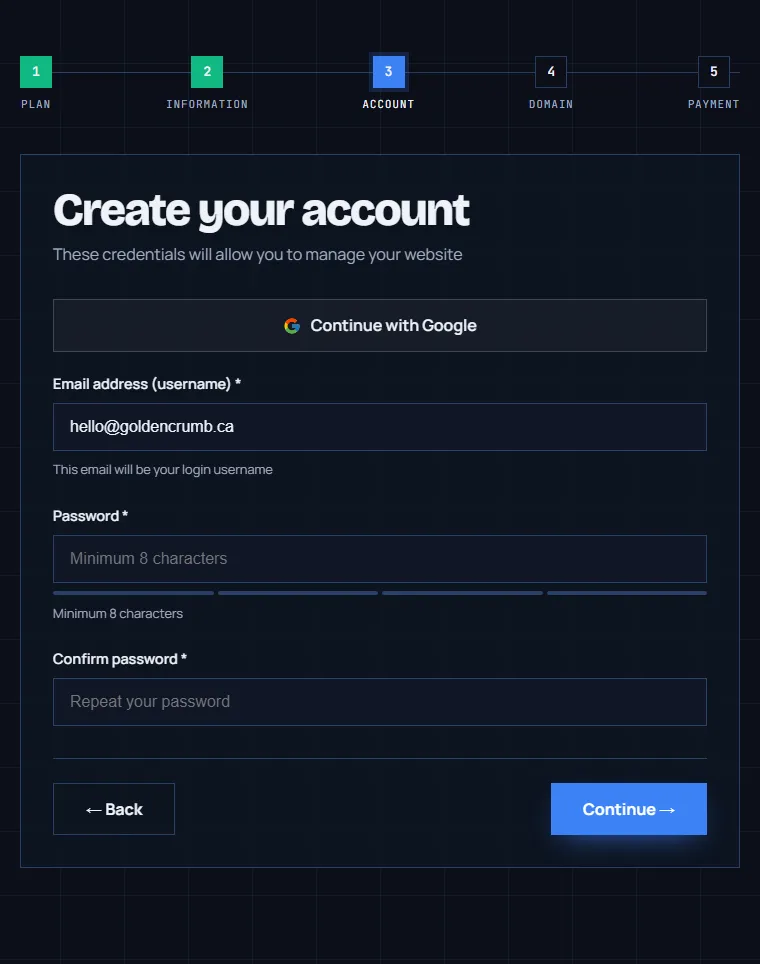
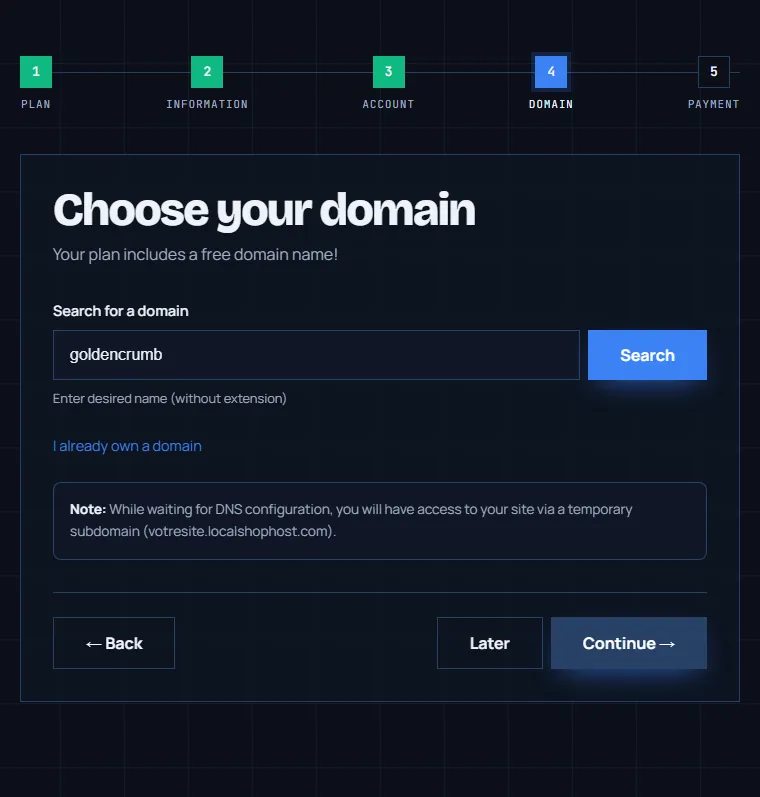
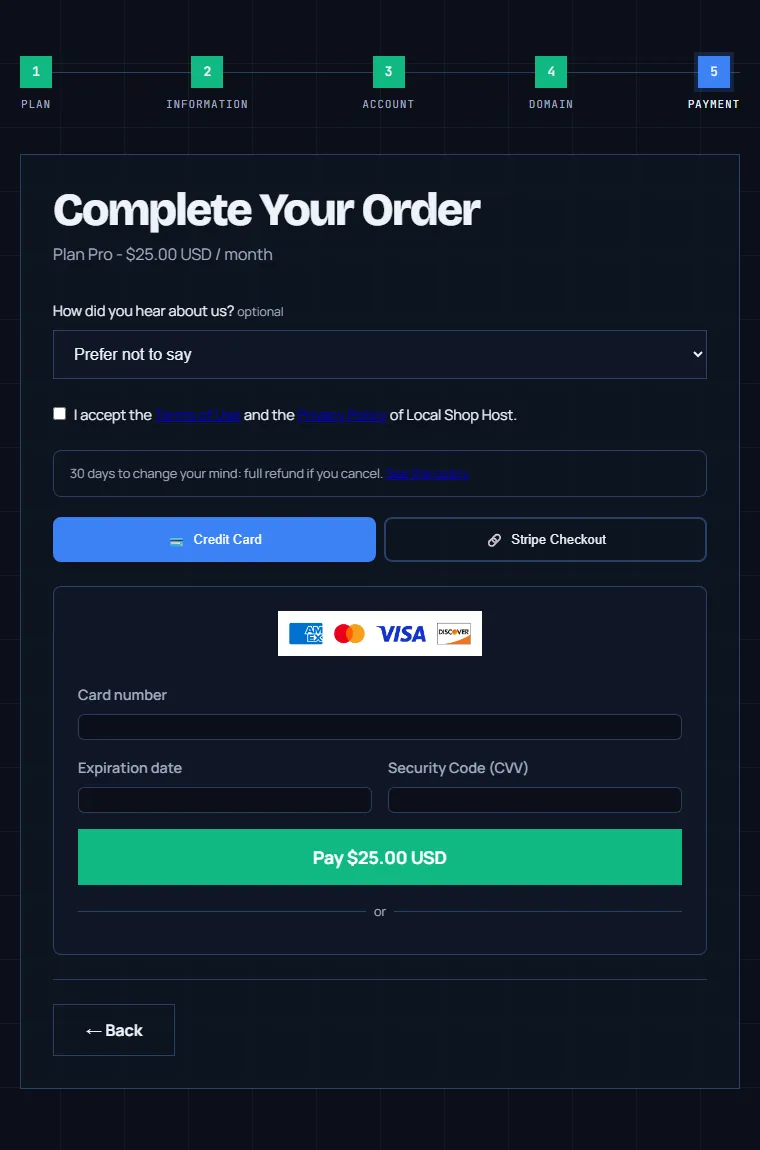
The 5 steps at a glance
- Plan — the plan, the length, the support tier and your type of business.
- Information — business name, owner, address.
- Account — your email and a password, or one click with Google.
- Domain — your .ca or .com domain name, or your own if you already have one.
- Payment — by credit card. Refunded if you change your mind within 30 days.
Which plan is right for you?
The three plans don't target the same need. Here's who each one is really for, and why you'd pick it over another.
To get started, simply
You want to be found online, with no complexity.
- You're starting out or testing your online presence without a big upfront investment.
- A single page is enough to present your business: hours, contact, what you offer.
- You want a working site quickly, without heavy design decisions.
- You prefer keeping your costs low while you validate your business.
For a more established image
Your business has grown, your site needs to keep up.
- Your business has several sides to present separately (About, Services, Hours) — a multi-page site organizes the information better.
- You want the site to reflect your brand colors (design customization).
- You want to publish articles on your own blog.
- You're ready to invest a bit more for a site that looks more professional.
To sell online
Your site becomes a real sales channel.
- You sell products and want to sell them online — cart and Stripe payments built in, the money goes straight into YOUR account.
- You want to offer discounts and promo codes to drive sales.
- You need to track your orders and see your sales stats.
The support tier (email included, priority email or phone) is chosen independently of your plan — available as an add-on on Standard, Pro and Pro+ alike, not just the higher plans.
Still not sure? Contact us — we'll help you choose based on your actual needs. Write to us.
Choosing your template
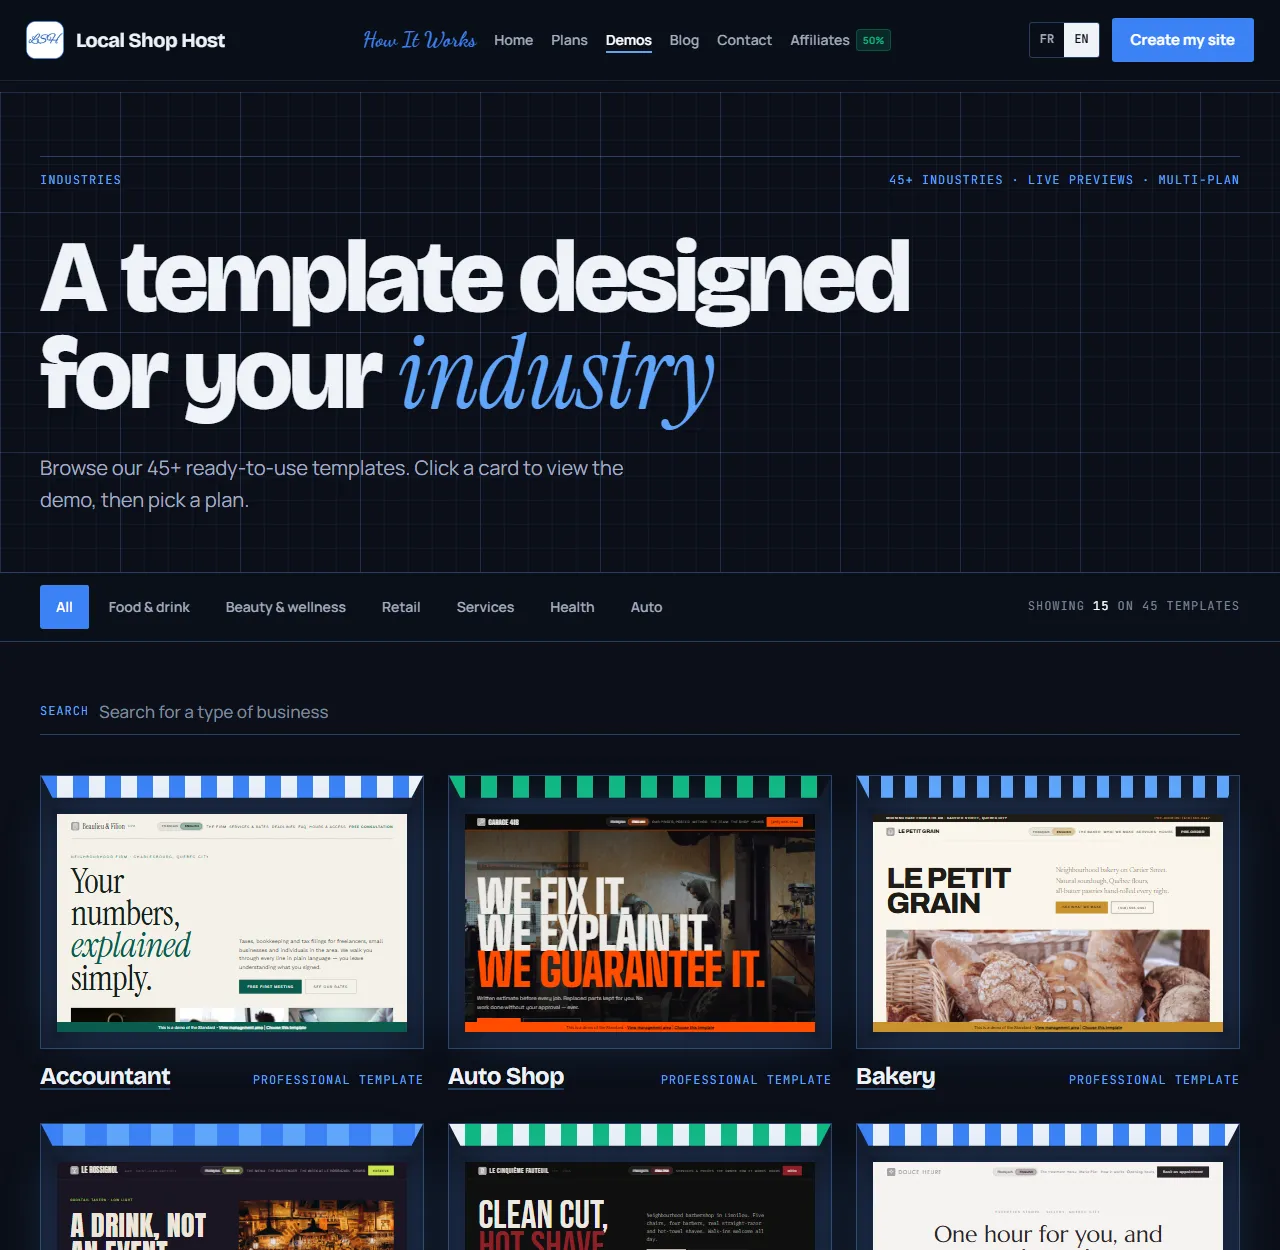
The type of business chosen in step 1 sets your site's template. Each trade has its own templates, designed for it: try them in the demos before you sign up.
The management area: an overview
Every site has its own management area, where you sign in with your email and password (or with Google). That's where you manage your hours, your testimonials, your domain, your email and, depending on your plan, your colours, your blog and your store.
The Menu
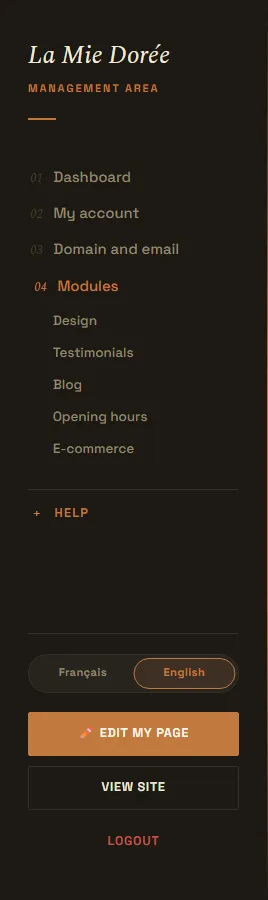
The left menu has six entries: Dashboard, My account, Domain and email, Module, Your review and Help. When you open a page, its neighbouring pages appear indented under its entry.
The buttons at the bottom
- “Edit my page” opens your site in edit mode: you change your texts and photos right there.
- “View site” opens your site the way your visitors see it.
- If your site is bilingual, the Français / English selector chooses the language of the texts you edit.
Saving
Some settings are saved automatically (colors, for example). The others have a “Save” button: a message at the bottom of the screen confirms it is done.
The tiles
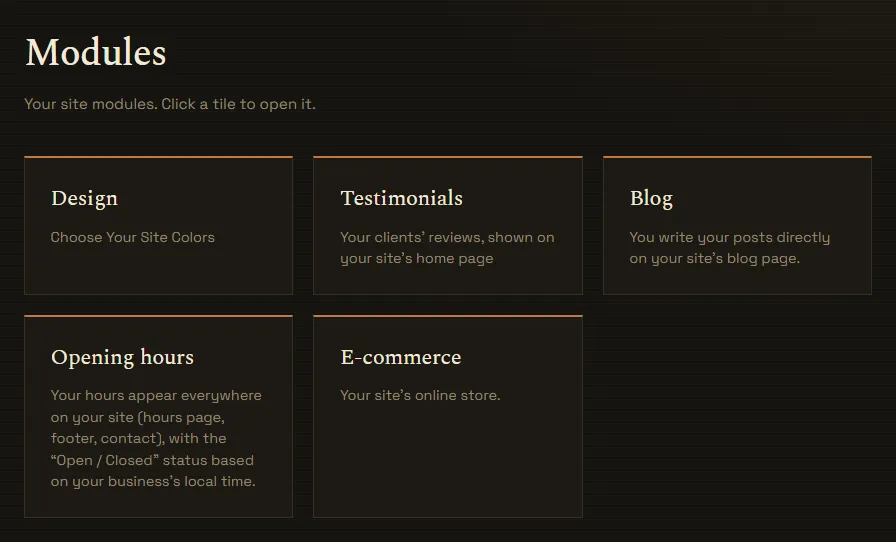
My account, Domain and email and Modules open a page of tiles. Click a tile to open its page. The “←” link at the top of each page takes you back to the tiles.
| Feature | Standard | Pro | Pro+ |
|---|---|---|---|
| Site fundamentals | |||
| Custom domain (.com / .ca) | ✓ | ✓ | ✓ |
| Pages included | Single page | Multi-page site | Multi-page site |
| SSL certificate | ✓ | ✓ | ✓ |
| Edit directly on the page (text, photos, lists) | ✓ | ✓ | ✓ |
| Add, remove, move blocks | ✓ | ✓ | ✓ |
| Bilingual site, French / English | ✓ | ✓ | ✓ |
| Testimonials: form on your site, approval before display | ✓ | ✓ | ✓ |
| Color customization (Design) | — | ✓ | ✓ |
| Business-specific interactive tools (estimators, calculators, configurators) | — | ✓ | ✓ |
| E-commerce capabilities | |||
| Online store | — | — | ✓ |
| Cart and Stripe payments | — | — | ✓ |
| Coupons and promotions | — | — | ✓ |
| Order management | — | — | ✓ |
| Sales statistics | — | — | ✓ |
| Operations and support | |||
| Management area | Management page | Full management area | Management area + e-commerce |
| Support level | 48h email included · priority or phone optional | 48h email included · priority or phone optional | 48h email included · priority or phone optional |
Editing your site
Your text, your photos and the order of sections are changed directly on your site, in edit mode. No technical knowledge needed: you click on what you want to change.
Open edit mode
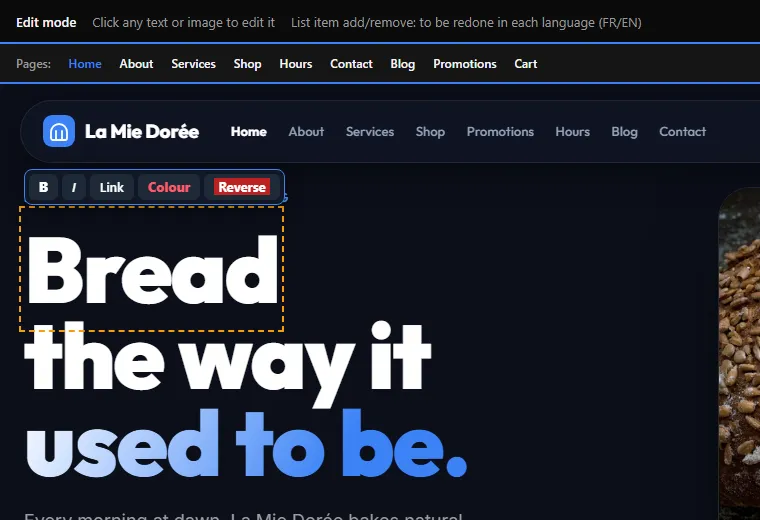
Click “Edit my page” at the bottom of the menu. Your site opens with a bar at the top. The “Pages:” line takes you to each page of your site, still in edit mode.

Change a text
Click a text, type, then click elsewhere: it is saved. The Enter key also saves (Ctrl + Enter in a long text) and Esc cancels. In some texts, a small bar lets you make a word bold or italic, or add a link.
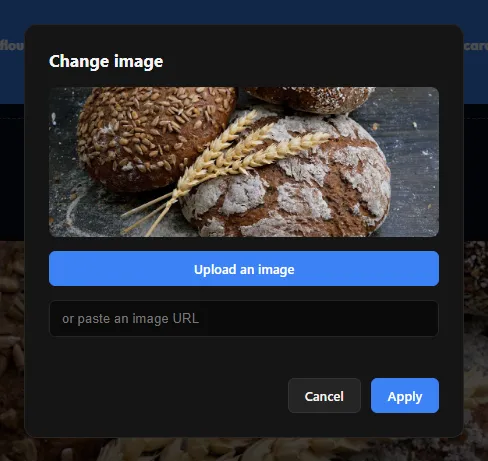
Change a photo
Click a photo. A window opens: “Upload an image” to pick a photo from your computer or your phone, or paste an image address. Click “Apply”.
Lists: add, move, delete
Your services, your steps, your frequently asked questions, etc. are lists. Move the mouse over an item:
- ⠿ (top left): hold and drag to move it.
- ✕ (top right): delete it.
- “+ Add” under the list: add an item, which you then fill in like any text.

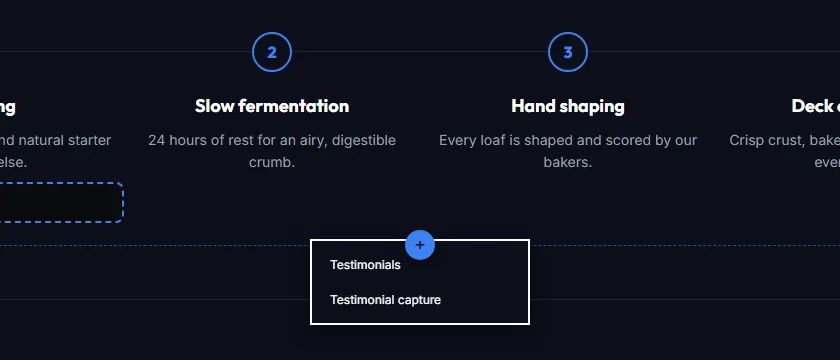
Add or remove a section
The “+” button between two sections shows the sections you can add at that spot. A section already on the page is no longer offered; remove it to put it somewhere else.
Opening hours
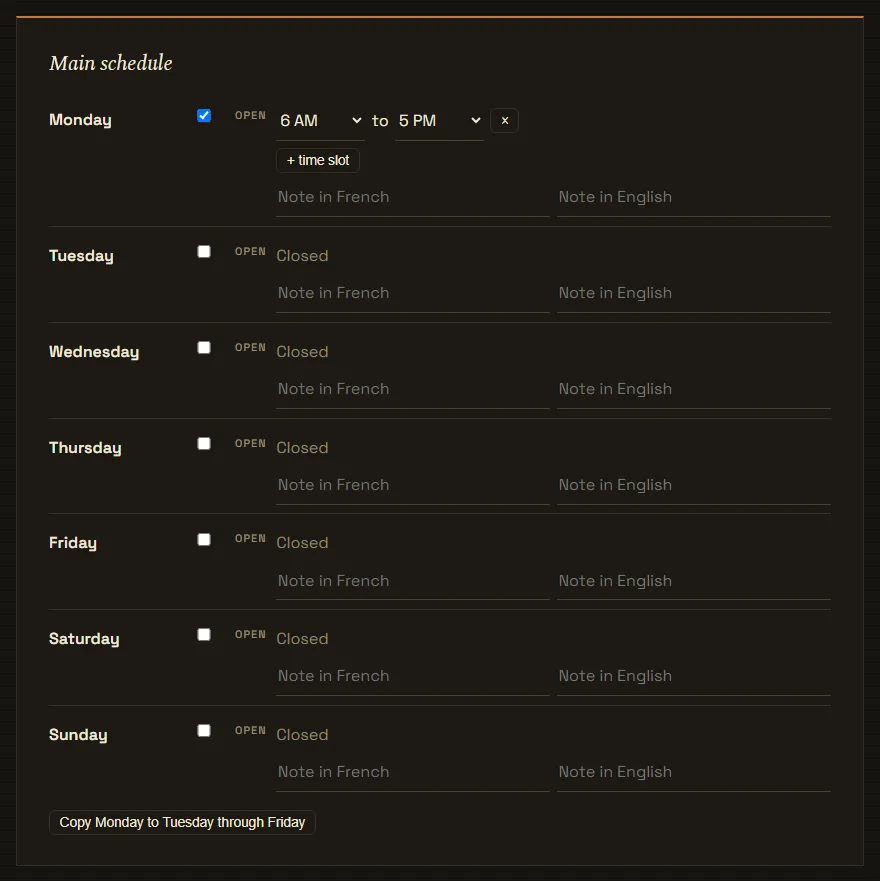
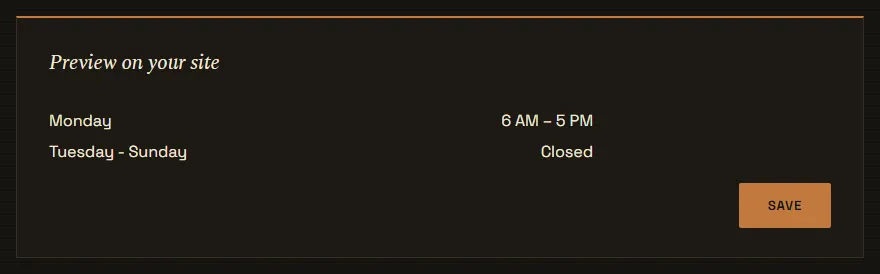
Click “Modules” in the menu, then the “Opening hours” tile. Your hours are changed only here: they then update everywhere on your site, in French and in English.
The time zone is used to show “Open” or “Closed” based on the time where you are. The format chooses between 17:00 and 5 PM (automatic: based on the page language).
Main schedule
- Check “Open” for each day you are open, then choose the opening and closing time.
- “+ time slot” adds a second time slot on the same day (for example, closed at lunch).
- “Copy Monday to Tuesday through Friday” fills in the week in one click.
Closures and public holidays
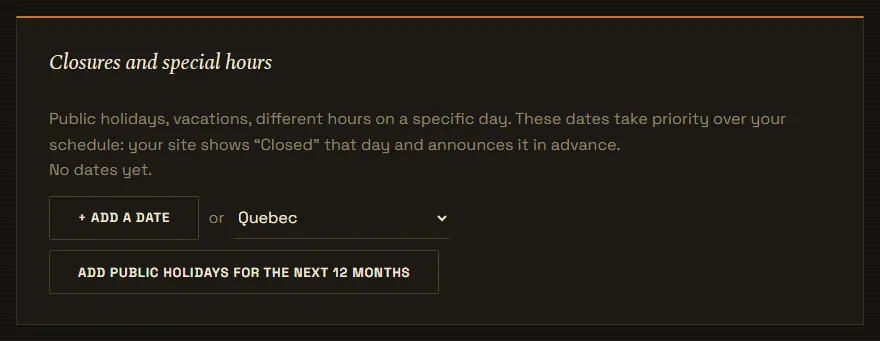
“Add a date” for a closed day, holidays or reduced hours. Or choose your region and click “Add public holidays for the next 12 months”. These dates take priority over your schedule and your site announces them in advance.
“Extra schedule”: a service outside your hours, for example emergencies. “Seasonal schedule”: different hours during a period, for example summer; it replaces your main schedule during that period.
Domain and email
Your web address and your professional email in your own name, in the same menu: “Domain and email”.
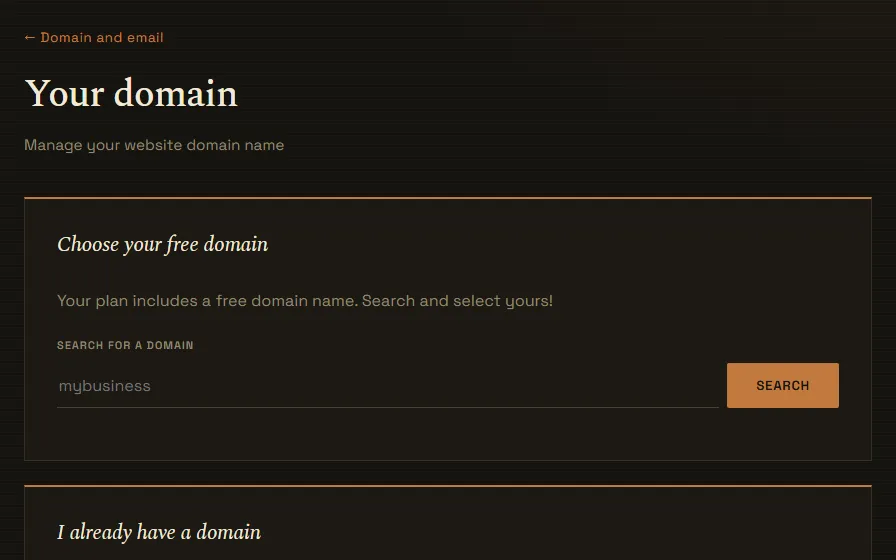
Choose your domain
Type the name you want (without www or .com) and click “Search”. Click “Select” next to an available domain, then “Save this domain”. If your plan includes a domain, it is free. Otherwise, its yearly price is shown before you buy.
I already have a domain
Type your domain and click “Connect”. We show the settings to copy at your domain provider. Activation happens on its own once the settings are in place (a few hours).
Your professional email
"Activate my email" sets up your info@ mailbox at your domain name. It's ready within a few hours at most. sales@, orders@… as many as you want, at no cost. Each one has its own folder in your mailbox, and your replies are sent from the right address. None to remember: your mailbox only opens from here, and you're signed in automatically.
Your colours
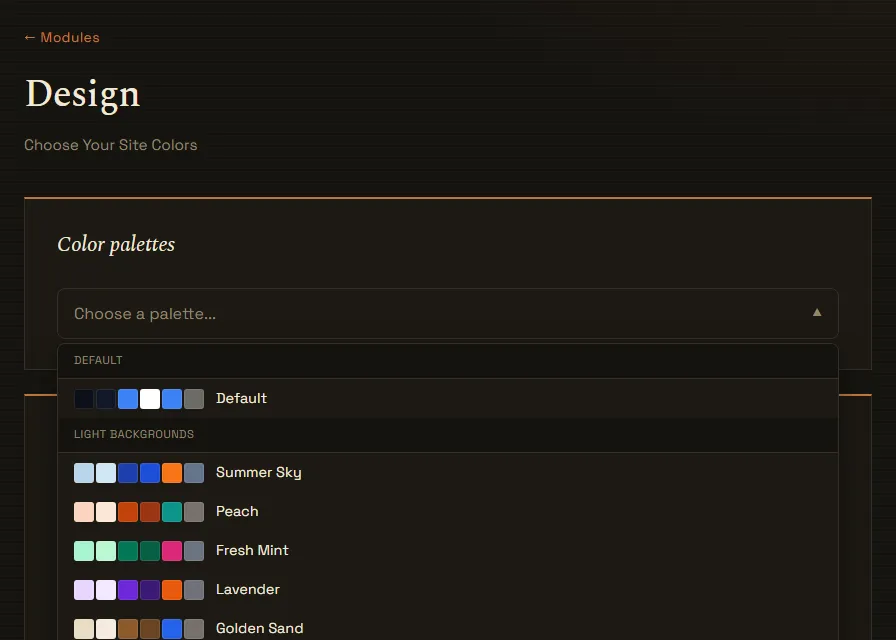
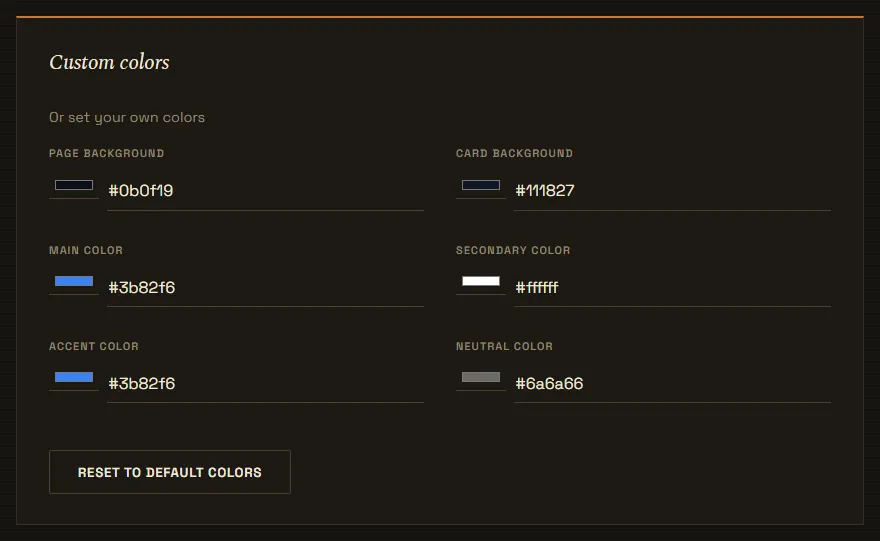
Click “Modules” in the menu, then the “Design” tile. Open the “Color palettes” list and click a palette. It applies to your site right away: open “View site” to see it.
Testimonials
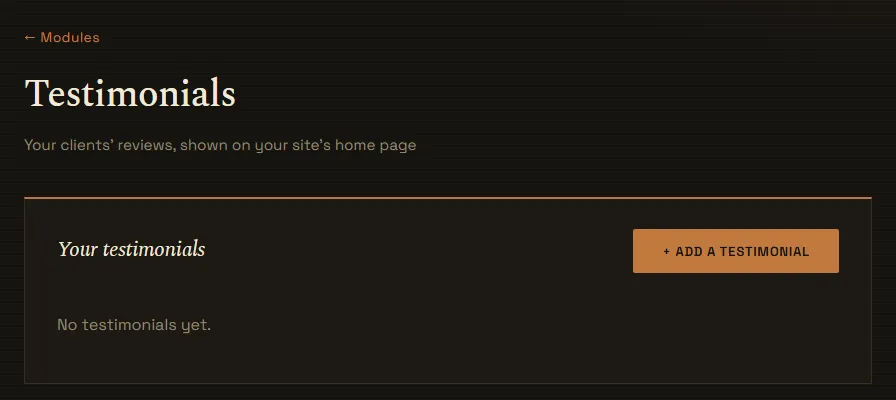
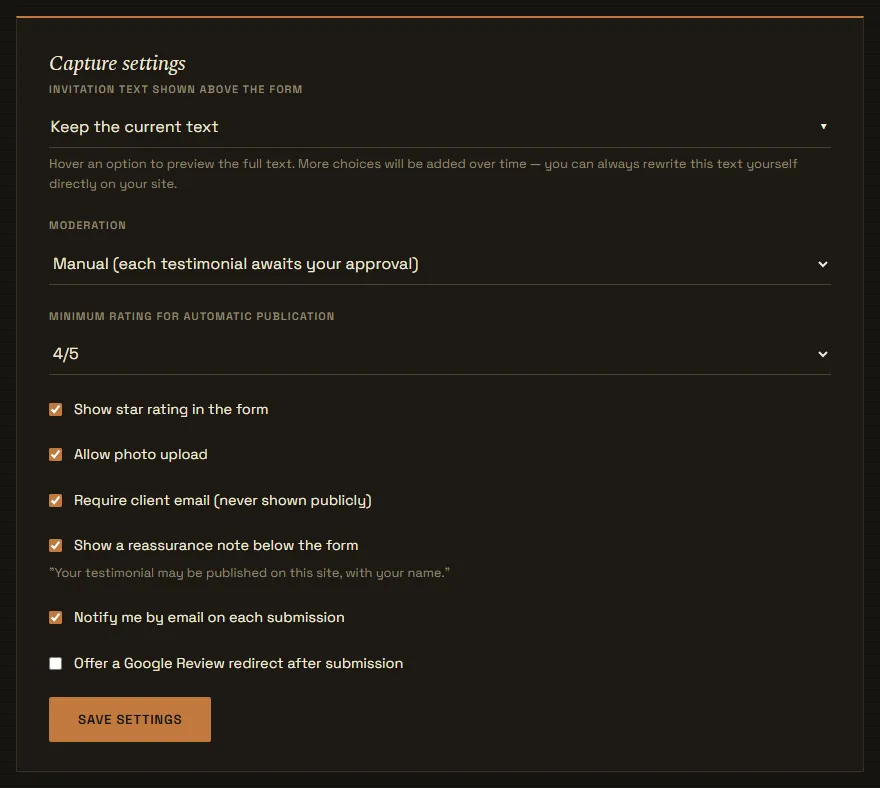
Reviews left by your customers on your site arrive here. For each one: “Approve” publishes it, “Hide” removes it from the site without erasing it, “Edit” and “Delete”.
“+ Add a testimonial”: enter a review you received another way (email, Google, etc.) yourself: the quote, the customer's name, the rating and a photo if you want.
The blog
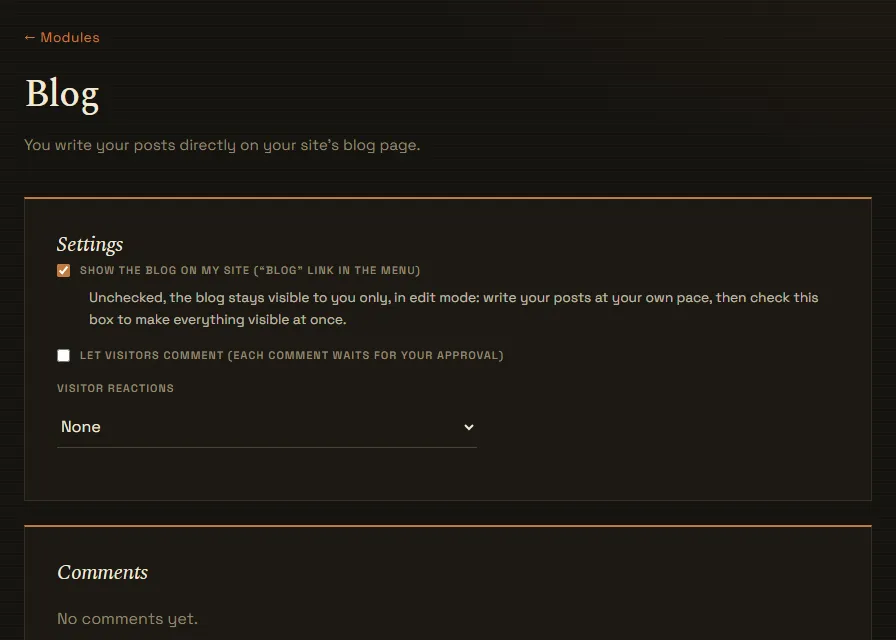
Click “Modules” in the menu, then the “Blog” tile. Check “Show the blog on my site”: the “Blog” link appears in your site's menu. Also choose whether your visitors can comment and react (“Like” or stars).
Write a post
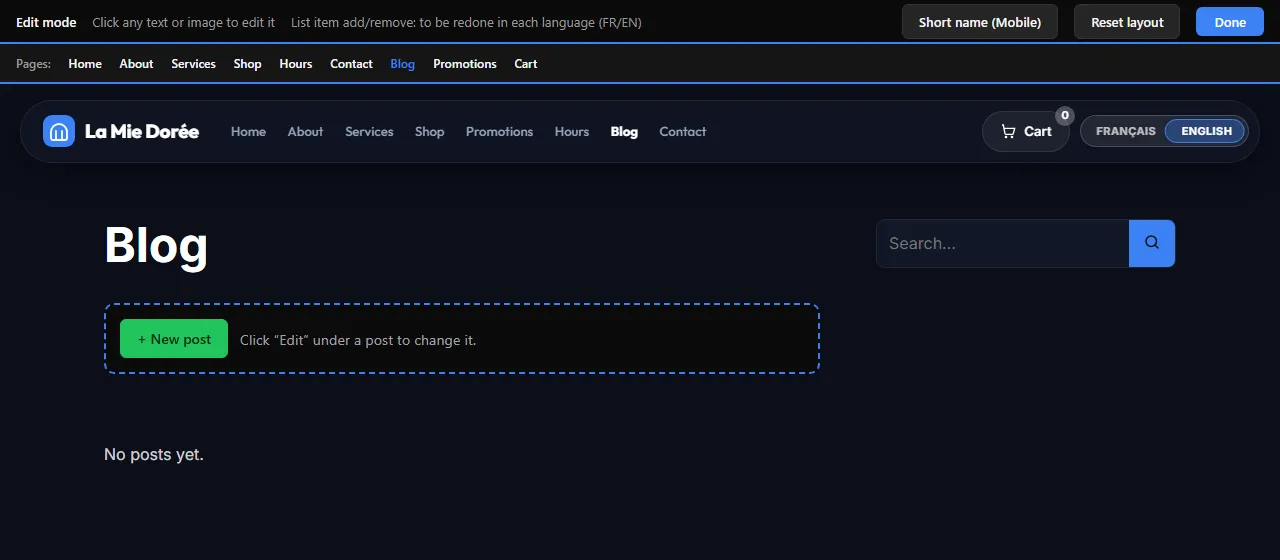
You write your posts right on your site. Click “Edit my page”, then “Blog” in the “Pages:” line. Click “New post”.
Write and publish
Write the title and the text, add the main photo and a category. The toolbar formats the text and adds images, links or a YouTube video. “Save draft” keeps the post visible to you only. “Publish” puts it online.
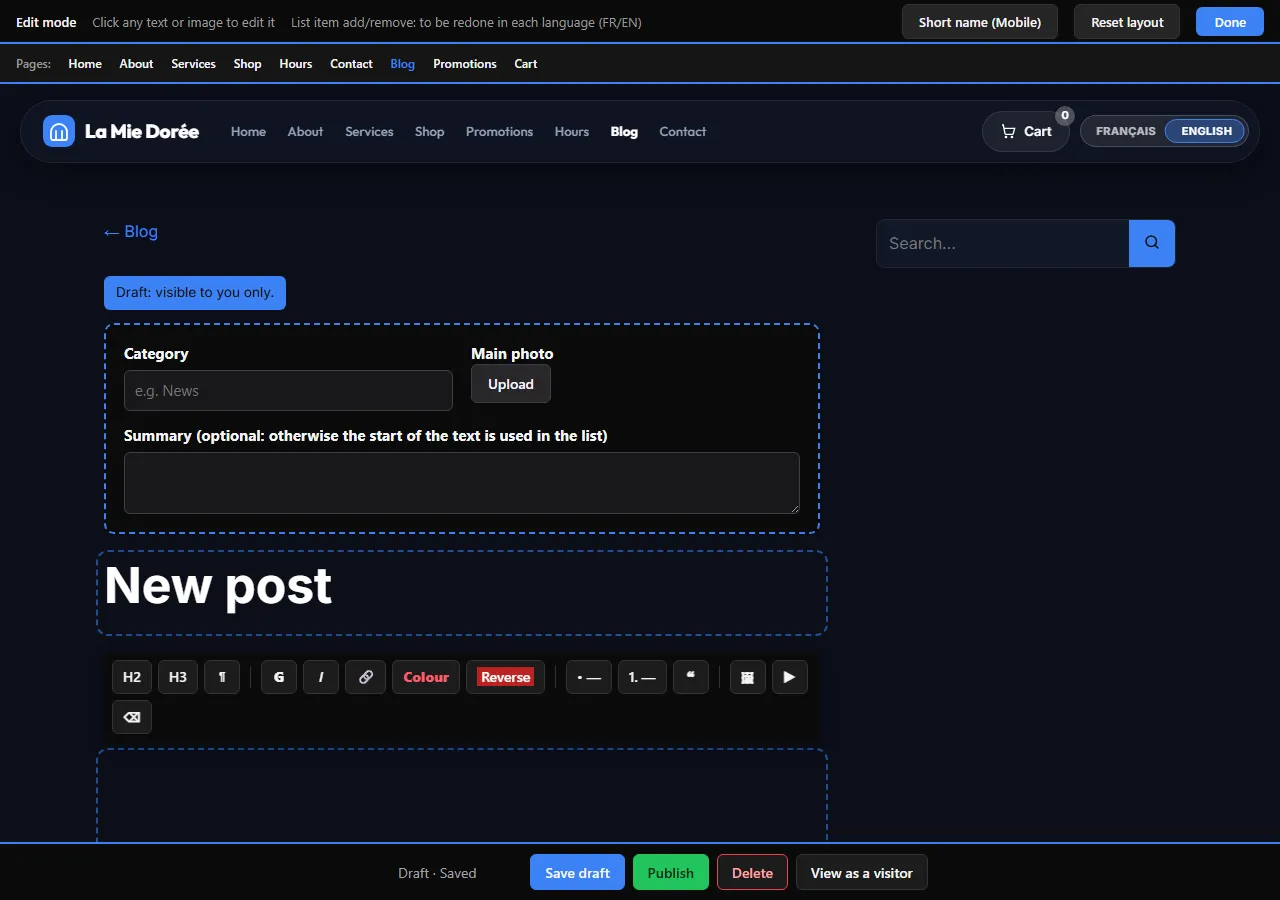
Each comment waits for your approval on the Blog page of your management area: “Approve”, “Hide” or “Delete”.
Online shop
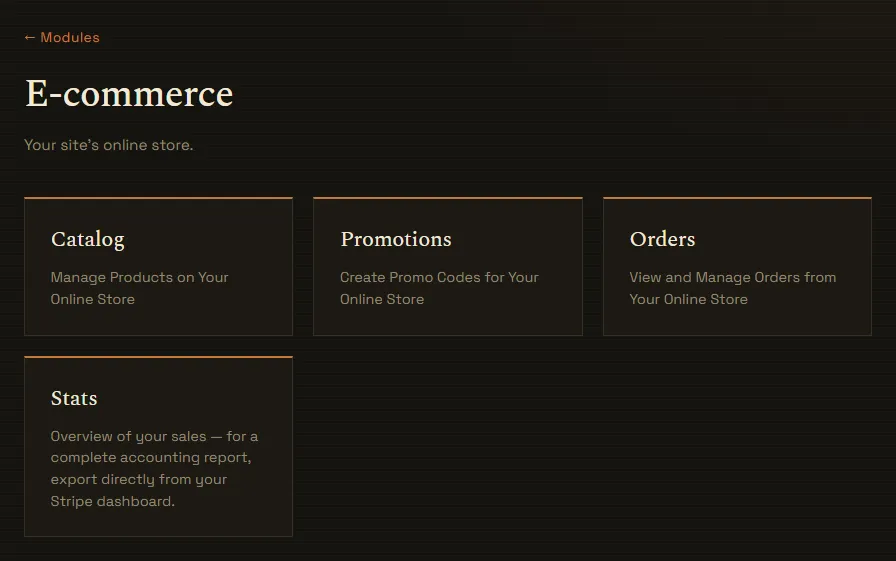
Click “Modules” in the menu, then the “E-commerce” tile. Four tiles: Catalog, Promotions, Orders and Stats.
Add your products
In “Catalog”, click “+ Add a product”: name, category, price, description and image, then “Save”. “Disable” removes a product from the store without erasing it.
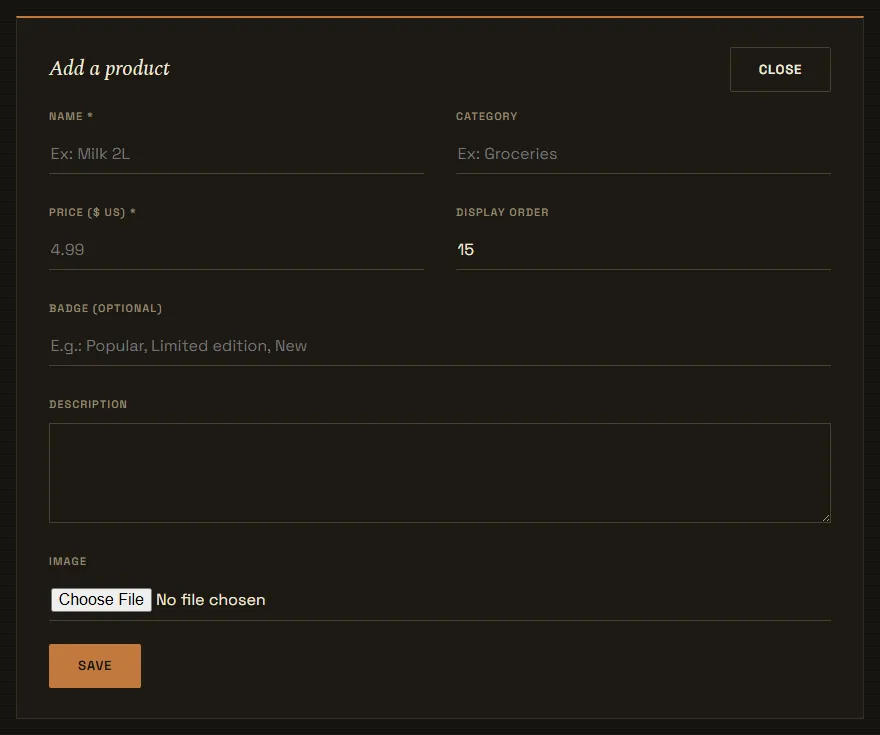
Receive payments
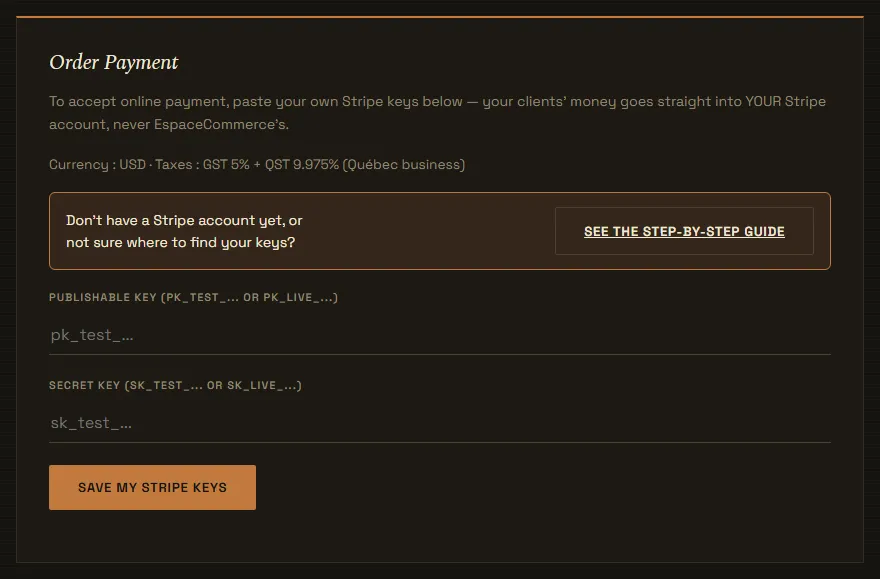
In “Order Payment”, paste your Stripe keys and click “Save my Stripe keys”. Your customers' money goes straight into your Stripe account. The “See the step-by-step guide” link shows where to find your keys. The guide to creating your Stripe account →
Delivery
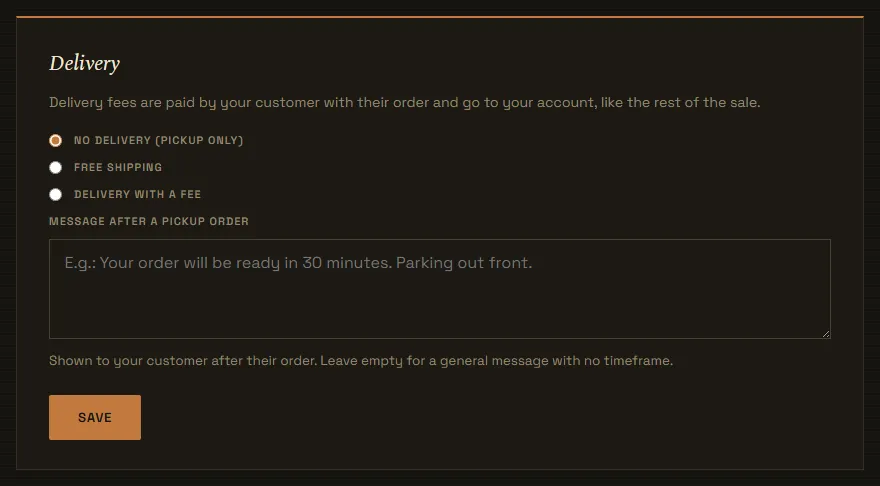
Choose a fixed fee or a percentage of the order, the purchase amount from which delivery is free, and if needed the areas you serve (beginnings of postal codes). The messages shown after a pickup or delivery order are set here too.
Promo codes
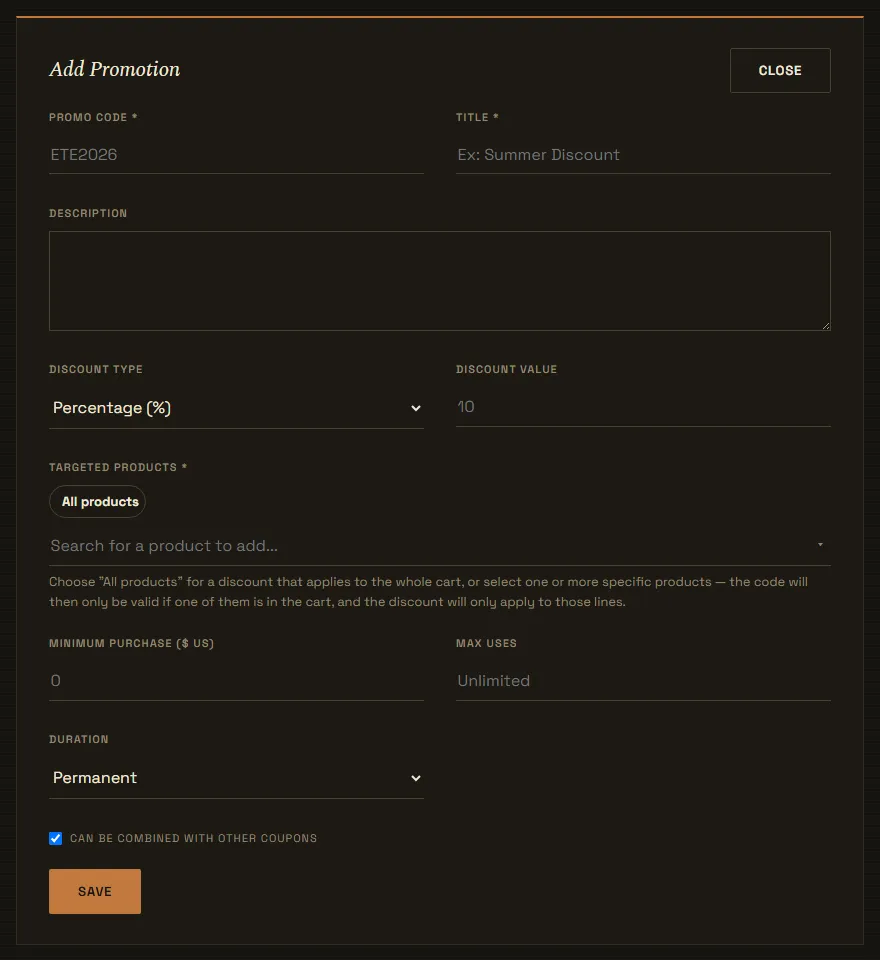
In “Promotions”, click “+ Add Promotion”: the code, the discount (percentage, fixed amount or free delivery), the products it applies to, the minimum purchase and the duration.
Orders
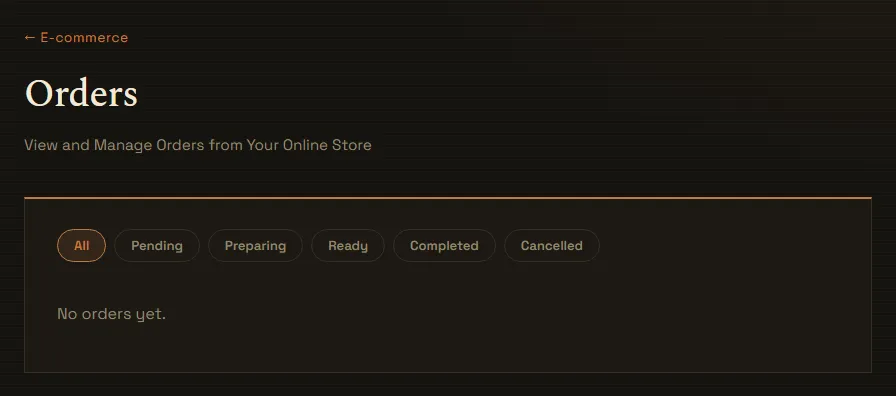
All your orders, with a filter by status. Click an order to see its details and change its status: preparing, ready, completed or cancelled.
Your account and help
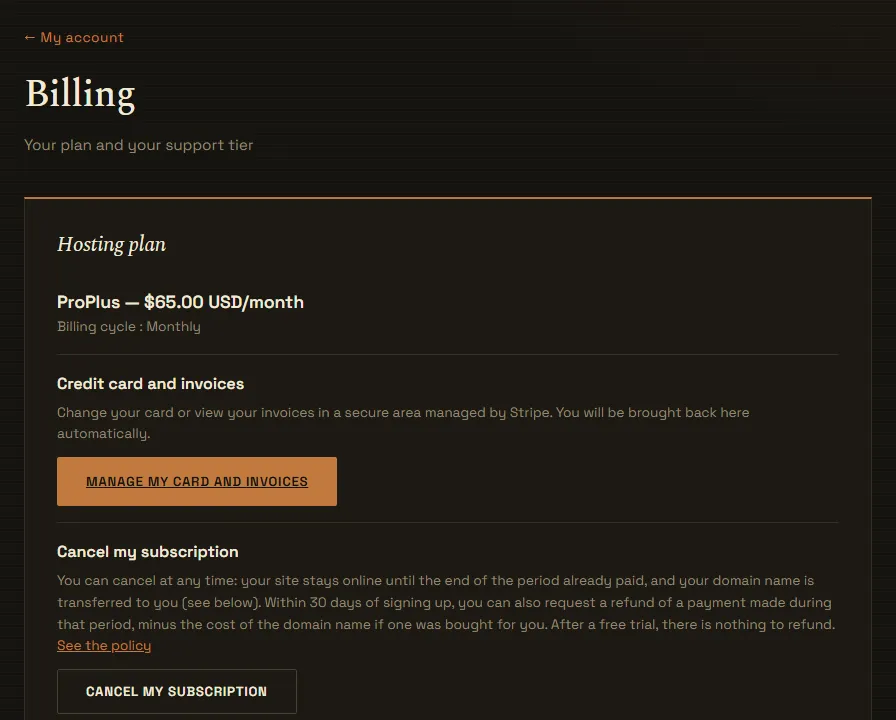
Your card, your invoices, your plan and your site's language are managed in “My account”. And if you're stuck, help is right in your management area.
Billing
- “Manage my card and invoices”: change your credit card or download your invoices.
- “Change plan”: choose the plan and the template, then “Change”.
- “Cancel my subscription”: your site stays online until the end of the period already paid.
Help, in your management area
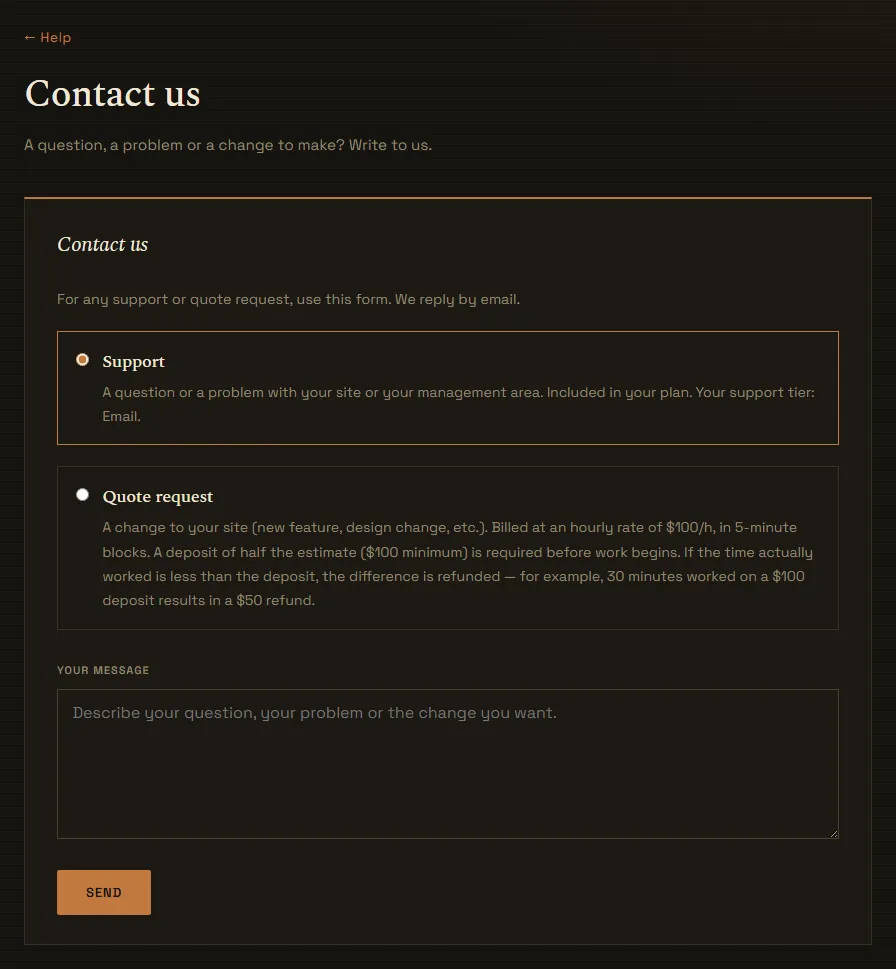
“Help” in the menu: an illustrated user guide for every part of your management area, and the “Contact us” form. “Support”: a question or a problem with your site or your management area. It is included in your plan. “Quote request”: a change to your site (new feature, design change, etc.). We send you an estimate before we start.